How to create an ACF Repeater Beaver Builder shortcode and use SRCSET for images.


With trying to find a solution for using an ACF repeater with Beaver Builder and display an image with variations from srcset (with an Alt tag), nothing seemed to be coming up from searching online. So, I wanted to share what I had worked out for others who may come across this issue.
Beaver Builder & ACF
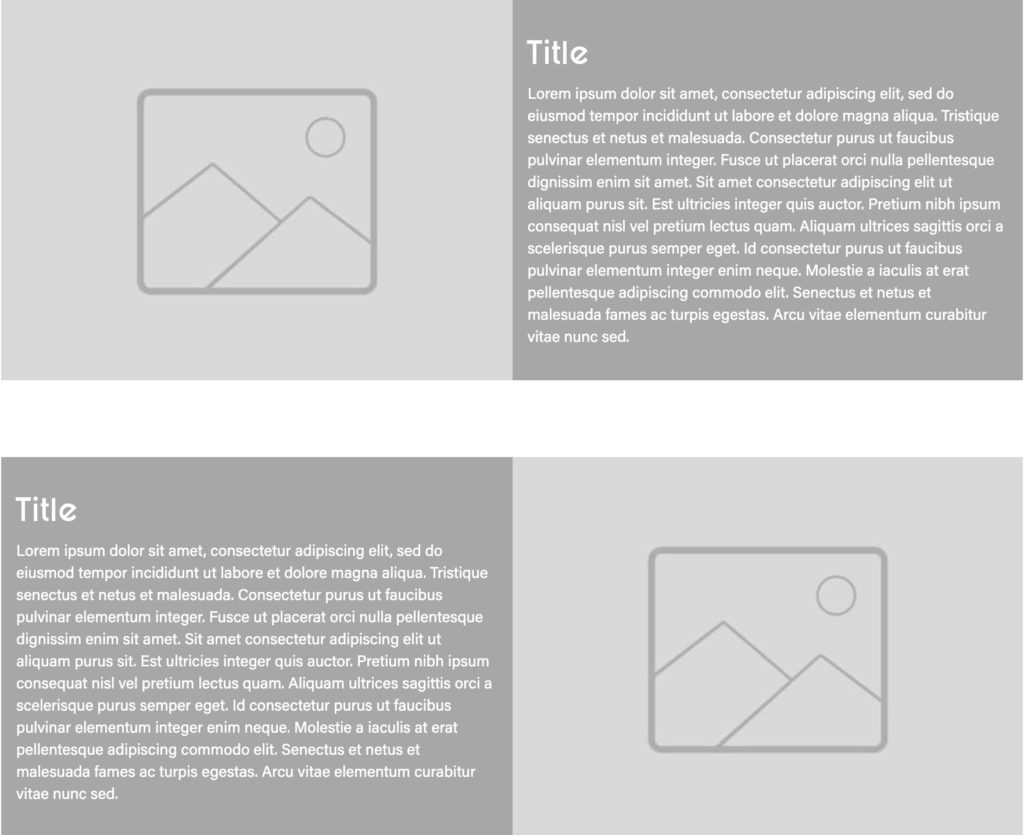
Firstly, using a Beaver Builder layout, but connecting to Advanced Custom Fields (ACF), the only solution it would work in was an html module. Therefore, using this option, it displayed an image in one column and content in an adjacent one, but I also wanted for them to reverse in the next (even) row, switching position.
The issue
The image was only pulling the image field itself, with no other data, such as srcset or alt tag. The need was to use srcset, rather than creating media queries for the image sizes. Therefore, as WordPress creates the srcset images already, it would make sense to use that facility.
For instance, this was the repeater code used in the HTML module to start with, which would only pull in one version of the image and at a specified size:
[wpbb-acf-repeater name='repeater_name']
<div class="repeater-wrapper">
    <div class="col-sm-6 repeater image">
            <img src="[wpbb post:acf type='image' name='repeater_image' image_size='full']">
    </div>
    <div class="col-sm-6 repeater text">
        <div class="content">
            <h2>[wpbb post:acf type='text' name='repeater_title']</h2>
            [wpbb post:acf type='text' name='repeater_intro']
        </div>
    </div>
</div>
[/wpbb-acf-repeater]
The solution
Firstly, the solution was to use the WordPress function wp_get_attachment_image and create a custom shortcode. After that, this would get the image to show srcset variations with an alt tag, as referenced in the Advanced Custom Fields documentation.
Creating the shortcode
To create an ACF Repeater Beaver Builder shortcode and use SRCSET for responsive images, use the following steps and plugins.
Total Time: 30 minutes
Install Beaver Builder
Either install the plugin through the WordPress admin area or download Beaver Builder.

Install Advanced Custom Fields
To use the repeater option of Advanced Custom Fields, you need purchase the ACF PRO plugin. Once downloaded, install the plugin through the WordPress admin area, under Plugins > Add New > Upload Plugin.
Install Code Snippets
To ease the addition of adding a shortcode, install the Code Snippets plugin. This helps with adding any additional snippets of code rather than editing the functions.php file, which could potentially cause errors on the site.
Create your advanced custom fields
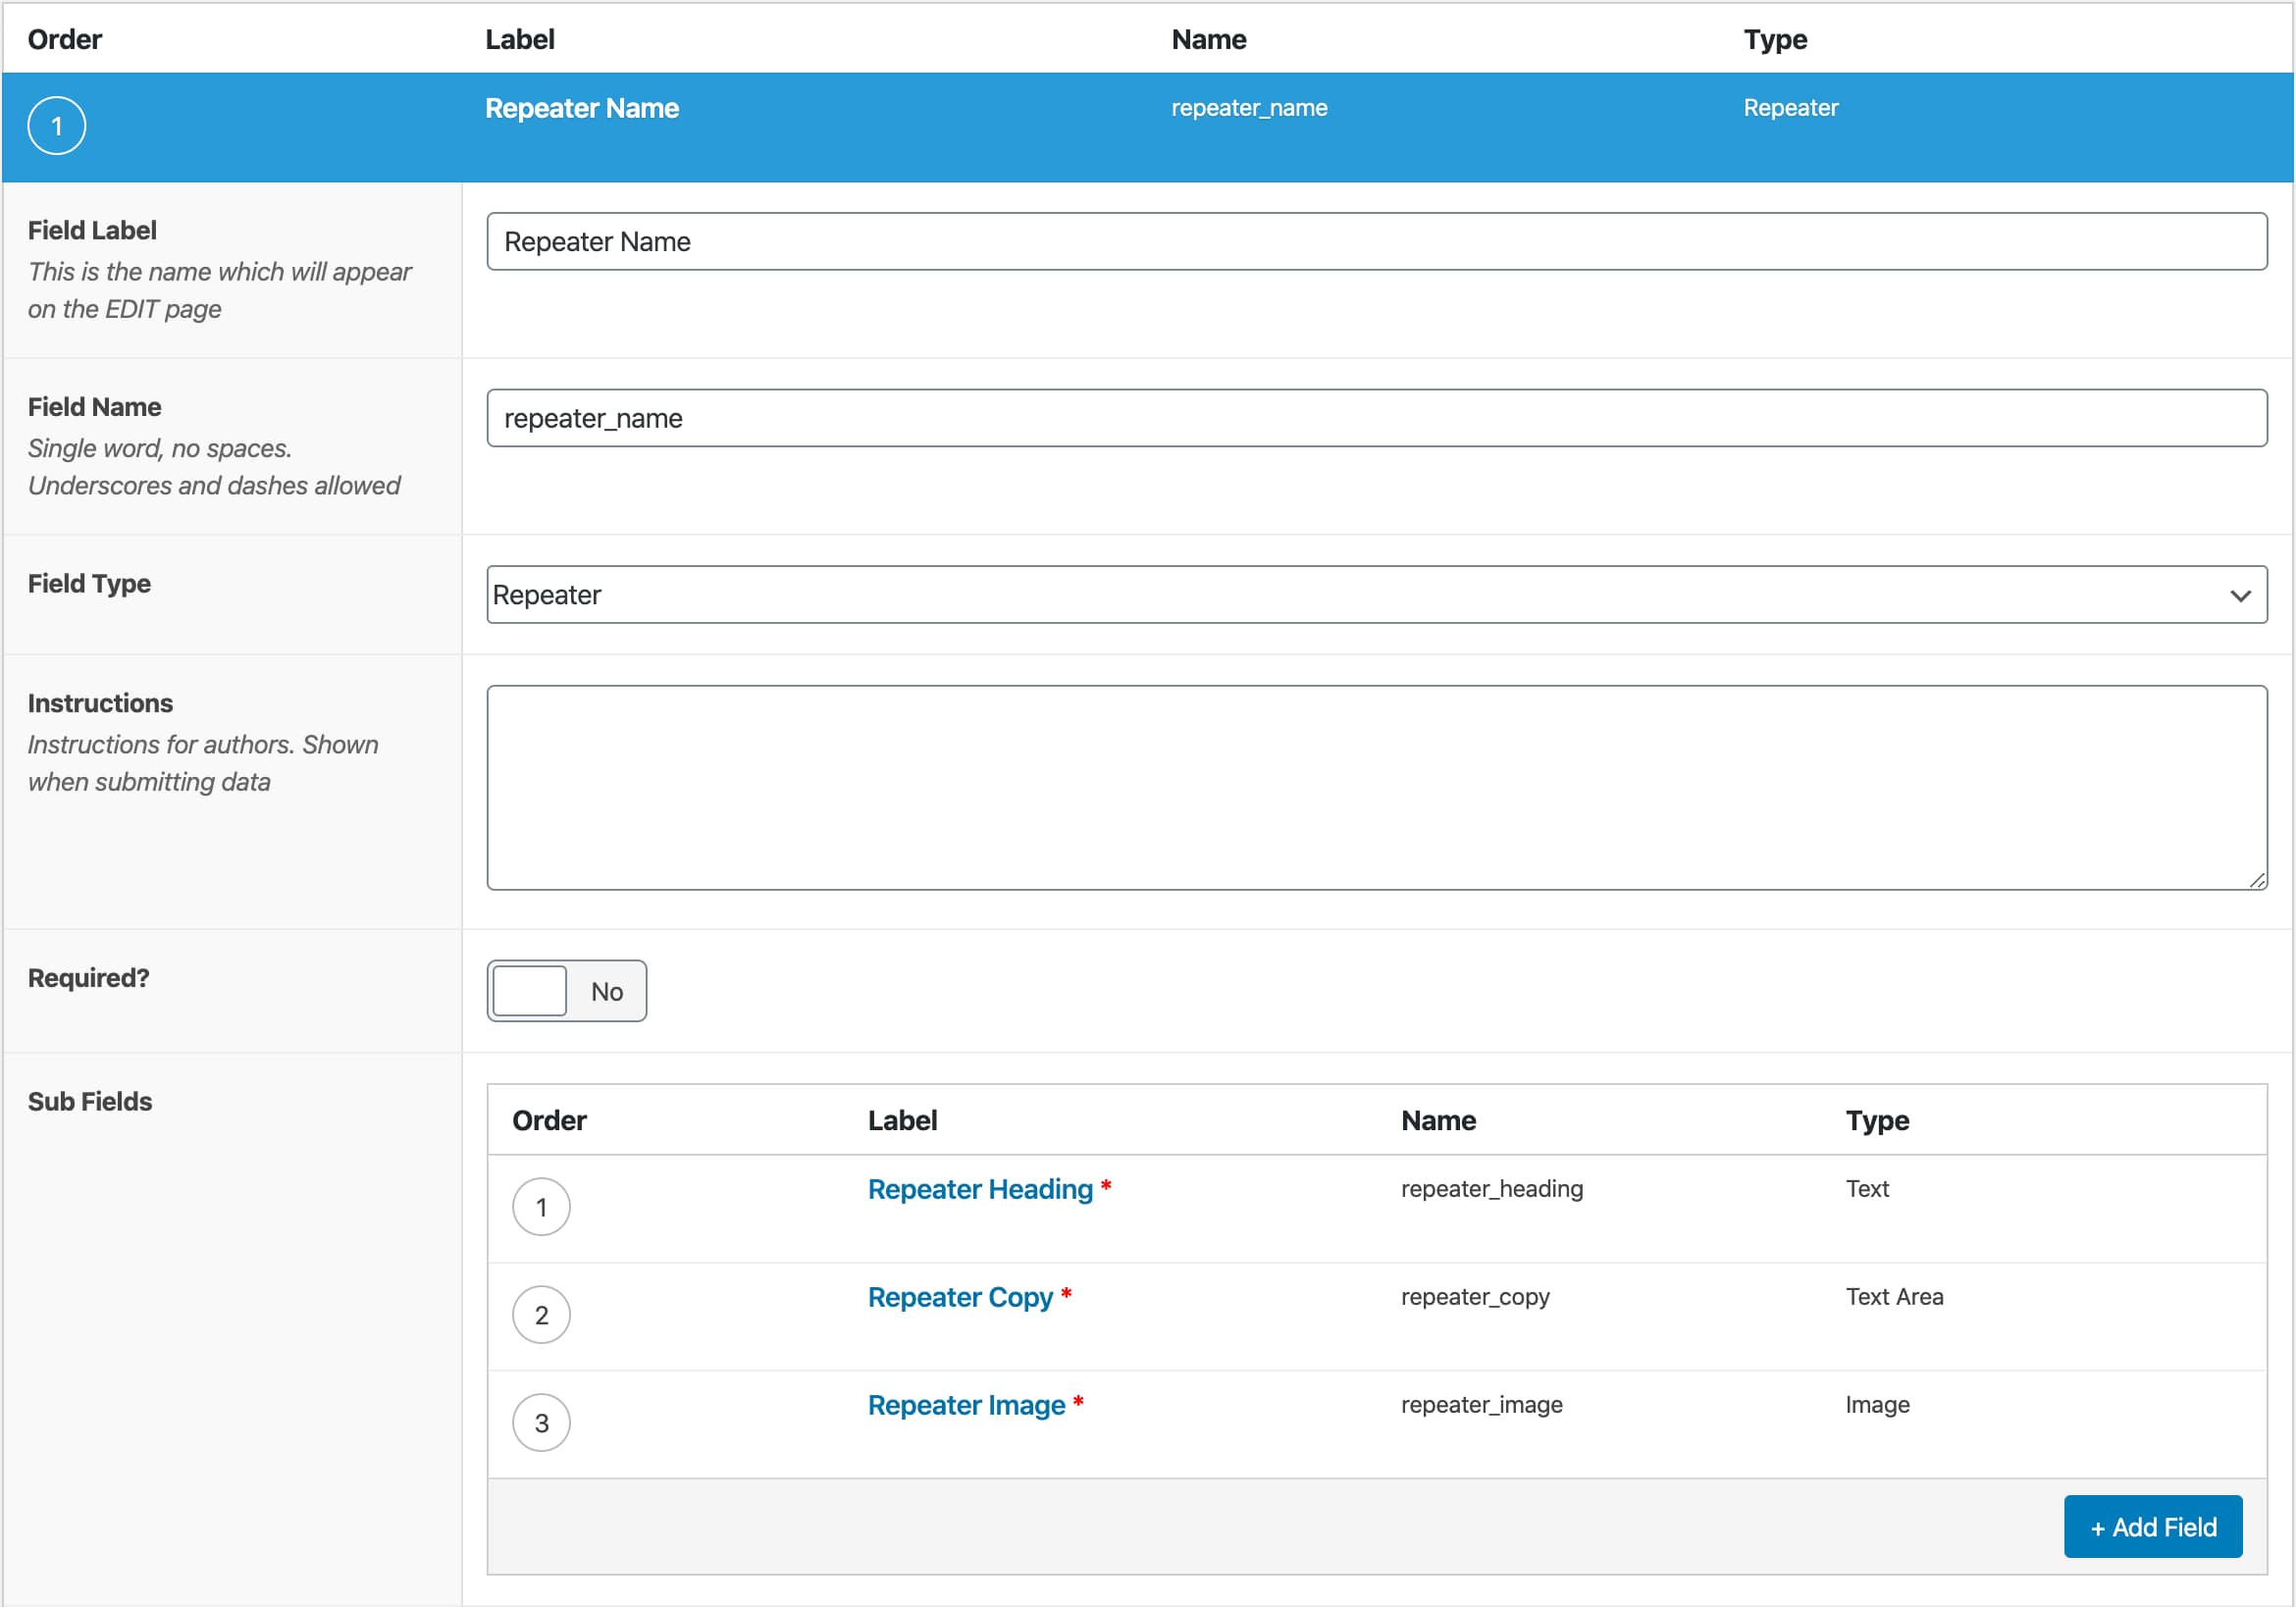
In the admin sidebar, go to Custom Fields > Add new. Enter your New Fields Group title, and set up the fields you want to pull into the front end of Beaver Builder. For this example, we have set up a title, description and image.
NB. For the image to pull in the srcset variations and the image alt tag, make sure to select ID for the Return Format for the image source.

Choose the page you want the ACF Fields to show on
Make sure to select which page you want this ACF to show on, by choosing the location from the next set of fields required of your ACF:

Set up the ACF fields
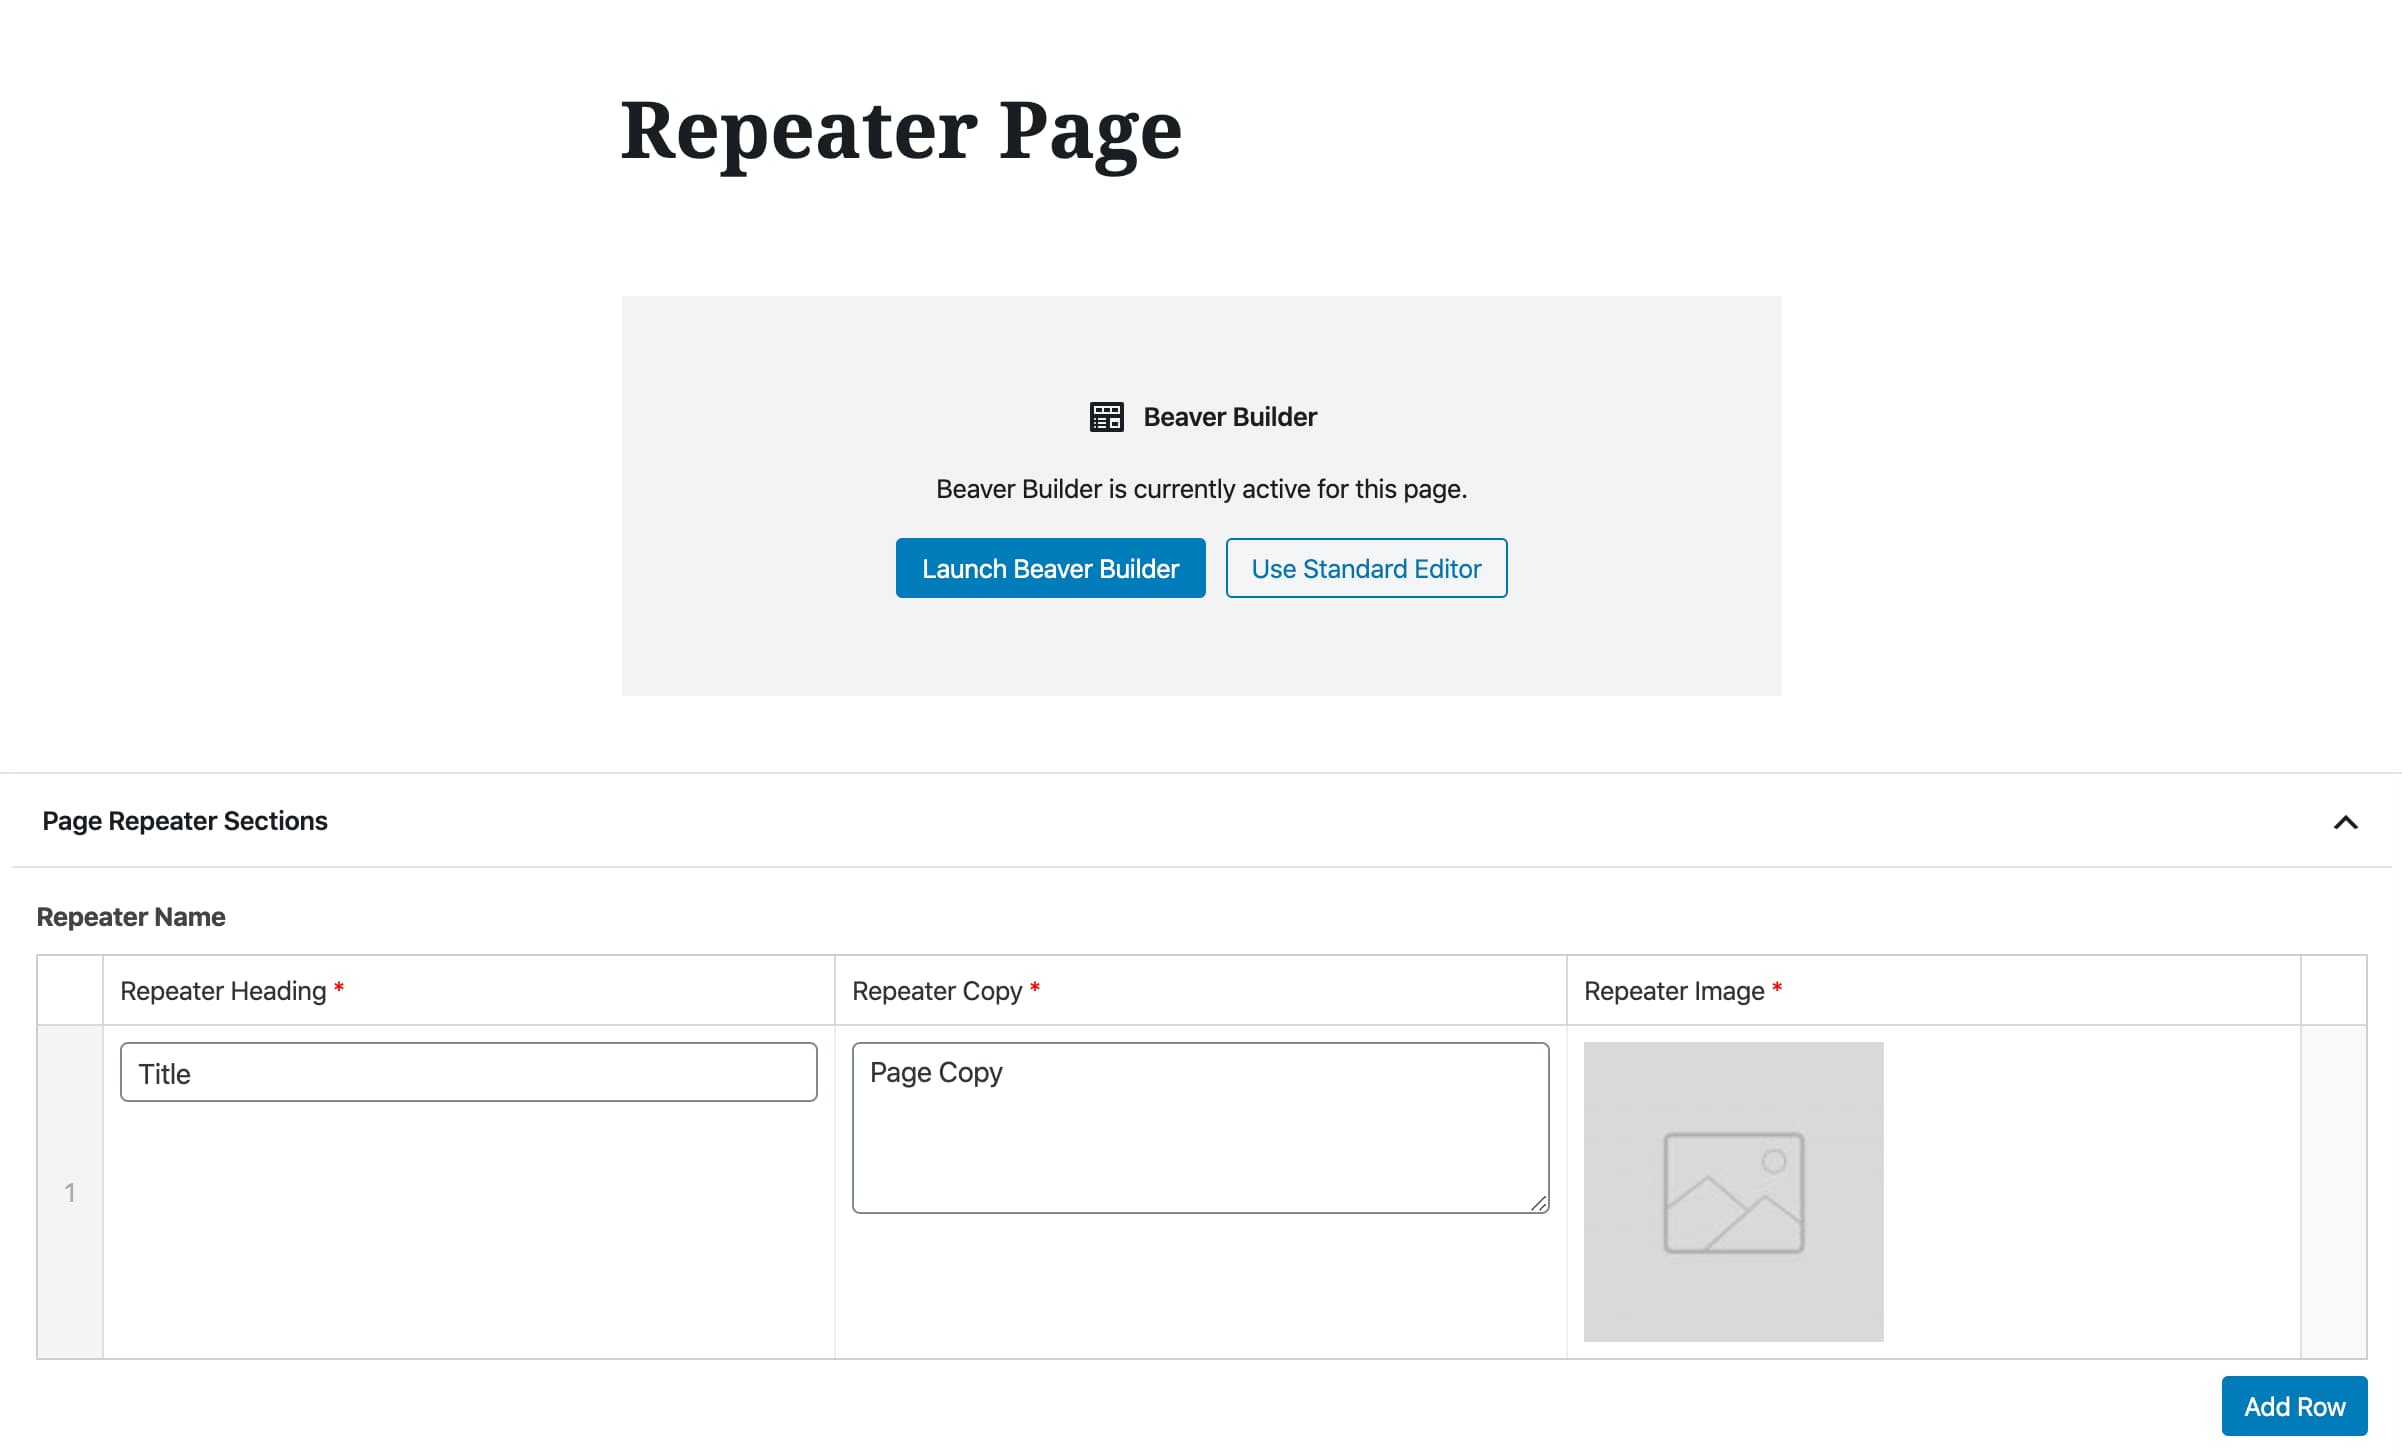
Edit the page you want the ACF fields to show on through the WordPress page editor. After that, to add more sections, simply click the “Add Row” button. Save this page when you have the sections/fields required.

Set up Beaver Builder
With Beaver Builder, the framework is built on Bootstrap. You can choose to use version 3 or 4 currently. To set this up, go to the Customise option under Appearance or on the front page logged in view. In the top wordpress admin bar, select General > Layout > CSS Framework. Choose from the option of Minimal Bootstrap 3 or 4, or Full Bootstrap 3 or 4. However, for this example, either versions will work.
Create the shortcode
The shortcode solution for connection the acf repeater beaver builder srcset is the following…
function my_acf_repeater() {
 if( have_rows('repeater_name') ):
     while ( have_rows('repeater_name') ) : the_row();
     $html.= '<div class="repeater-wrapper">';
     $html.= '<div class="col-sm-12 col-md-6 repeater image">';
    $image = get_sub_field('repeater_image');
if( $image )}
$html.= wp_get_attachment_image( $image, 'full' ); }
$html.= '</div> ';//image
$html.= '<div class="col-sm-12 col-md-6 repeater text">';
$html.= '<div class="content">';
$html.= '<h2>' . get_sub_field('repeater_heading') . '</h2>';
$html.= get_sub_field('repeater_copy',false,false);
$html.= '</div>';//content
$html.= '</div>';//col
$html.= '</div>';//row
endwhile;
endif;
return $html;
}
add_shortcode('acf_repeater', 'my_acf_repeater');
Set up the fields for the page in Beaver Builder
Either go to the front end view of the page on the website and click Beaver Builder, or go the page editor option in the WordPress admin area and click the Launch Beaver Builder button.
Once in the Beaver Builder editor, click the + button and under the modules option select HTML. After that, simply enter the shortcode created. For our example, this will be:[acf-repeater]
Click Save and you should see the ACF elements now showing. Next, click Done top right on the Beaver Builder page editor, and then Publish. Your ACF field repeater will now be showing on the page.
Styling the repeater sections
Lastly, to make sure the copy and title sit vertically centred to the adjacent image, add the following css to your style.css file. This css uses the *flexbox layout module. Furthermore, included in the below css is the code that makes alternate sections switch positions for the image and copy. For instance, odd rows are image left, copy to the right, but even rows are copy to the left and image right..repeater-wrapper:not(:last-of-type) {
padding-bottom: 50px;
}
.repeater-wrapper .repeater {
display: -webkit-box;
display: -webkit-flex;
display: -ms-flexbox;
display: flex;
align-items: center;
-webkit-align-items: center;
-webkit-box-align: center;
-webkit-box-pack: center;
-ms-flex-align: center;
-ms-flex-pack: center;
background-color: #51bcb6;
}
.repeater-wrapper .repeater.image{
padding:0 ;
}
.repeater-wrapper .repeater.text{
padding: 0;
color: #fff;
}
.repeater-wrapper .repeater.text .content{
padding:0 20px
}
.repeater-wrapper .repeater .content{
width: 100%;
}
.repeater-wrapper .repeater.image img{
width: 100%;
}
@media (min-width:768px){
.repeater-wrapper {
display: -webkit-box;
display: -webkit-flex;
display: -ms-flexbox;
display: flex;
}
.repeater-wrapper:not(:last-of-type) {
padding-bottom: 100px;
}
.repeater-wrapper:nth-of-type(even){
flex-direction: row-reverse;
}
.repeater-wrapper .repeater.image img{
width: 100%;
object-fit: cover;
height: fit-content;
}
}
@media (max-width:768px){
.repeater-wrapper .repeater.text .content{
padding:0 20px 20px;
}
}
To summarise
In conclusion, this will give you flexibility to add numerous additional sections to a page and take advantage of the srcset images that are automatically created by WordPress when uploading new images.
I hope this helps others as I continue to enjoy developing WordPress sites using plugins such as Beaver Builder and Advanced Custom Fields.
If you have a wordpress website that needs some customisation, updating or would like a FREE WordPress review, please get in touch.
*Flexbox may have some limitations you may need to consider. Check it will work for the browsers you are developing for on CanIUse Flexbox.
Share this article
Ready to discuss your requirements?
Simply pick a day & time and we will call you back as requested.
